Only have 30 minutes to make dinner? No problem! With this recipe, you can make the easiest BBQ ribs that will take the stress of planning dinner off your hands!
For the longest time, I was so intimidated to make ribs! We love ribs but only would get to eat them at restaurants. Finally, I braved the mission to make ribs at home. And let me tell you, my fears have been defeated!
Now that I can make ribs in 30 minutes that are delicious, fall off the bone, and so easy to make, I make these all the time!
Ribs are cheap to make as well. These are a good product to get the best bang for your buck. They are also great to make for a crowd. And with this recipe, ribs can be an easy way to impress others with your cooking skills!
This post may contain affiliate links of products I use and love. You can read my full disclosure here.
Best Ribs to Buy
As I am sure you are aware, there are many different types of rib meat you can buy at your local grocery store. I will say, the better the meat, the better the ribs. So, I would try not to cheap out on this.
However, like I stated before, ribs are relatively cheap! I got a rack of ribs that fed me, my husband, and we had left overs for only $13!! That is less than $5 a person. This was not a special promo or coupon deal happening at our grocery store. So I am sure you will be able to find a rack of ribs for the same price!
Until you have shopped for ribs you are probably not aware of the different types of ribs you can buy. Here’s a breakdown of the different types.
Rack vs Slab of Ribs
You may have heard of both. Some people use these terms interchangeably. So is there a difference? Apparently yes. And the type you buy (if the packaging has them labeled) will determine how you will prepare them for cooking. But I am getting ahead of myself on that- we’ll talk more about how to prepare the ribs later. Here are the differences with rack vs slab of ribs.
- Rack: ribs that have been trimmed and had some fat and cartilage removed
- Slab: untrimmed ribs
Baby Back Ribs vs Spare Ribs
If you are like me, you cannot see/ hear the term ‘Baby Back Ribs’ without singing the song. If you are also like me, you may not have known the difference between the two types of ribs. To be honest, I thought they were all baby back ribs. It is important to know what type of ribs to buy as this too will determine how you cook them- again, we’ll talk about this later. Here are the differences between baby back and spare ribs.
- Baby back ribs: these ribs come from the upper rib cage of a pig, near the backbone. They are leaner and smaller than spare ribs, and are known for their sweet, juicy meat. A full rack of baby back ribs typically has about eight ribs.
- Spare ribs: these ribs come from lower on the pig, by the belly. They are meatier and have larger, flatter bones than baby back ribs. Spare ribs are also fattier.

For today’s recipe, we will be referring to baby back ribs for preparation and cooking directions. But note that if you do use spare ribs, the cooking time will need to be low and slow due to the excess fat.
So you can decide if you would like your ribs to be a rack or slab, but I would advise you to purchase baby back ribs vs spare for the recipe we will be using today!
Materials:
Here is everything you will need to make your easy, delicious 30 minute BBQ ribs!
- Instant Pot: this is how you are going to make the ribs in such a short amount of time. If I could only choose one kitchen appliance to use for the rest of my life, I would use my Instant Pot! This is the exact Instant Pot I use. There are many different settings and options it provides for cooking that you will quickly benefit from!
- Grill/ oven: After your ribs are cooked in the Instant Pot, you will be glazing the ribs with BBQ sauce on the grill or in the oven.
- Rack of ribs: For a serving of 2, I only use 1 rack of ribs. Use this ratio according to the amount of servings you will be cooking for. See above for the different choices of ribs to purchase!
- Chicken/ Beef Broth: When using an Instant Pot, you have to add liquid to the pot to successfully build pressure in the pot.
- BBQ Rub: To make it easier for me, I always use a store bought BBQ seasoning rub with salt and pepper. You are welcome to use your own BBQ rub or a store bought one as well.
- BBQ Sauce: Again, I tend to use a store bought BBQ sauce that is a medium heat. But you can use your own BBQ sauce if you prefer.

How to Prepare the Ribs
After you have selected your choice of ribs, we are ready to prepare them! Depending on the type of ribs you buy, this will determine the next part.
No matter the types of ribs you purchased, some of the process of preparing will be the same. This includes stripping the thin membrane and cutting away the fat. It is important to cut away the thin membrane to make sure you have tender and not chewy ribs.
How to Remove the Thin Membrane
Most ribs that you purchase at the store will have the thin membrane that you will have to peel/ cut away. The membrance will be on the underside of the ribs. The best method I have used is to snip a piece of the membrane from one end of the ribs. Then take the piece that you have snipped to be lifted from the ribs and hold on to it with a paper towel. Then pull! The membrane will pull away.
If you see extra fat that you would like to cut away, you can do that now.
Once the membrane and fat is removed, pat dry the ribs with a few sheets of paper towels.
Season
This is the fun part where you can get creative! I am pretty basic when it comes to BBQ ribs though. I like to season my ribs with a mesquite BBQ rub. But you can feel free to create/ buy the seasoning of your choosing! Once you have the seasoning/ spices that you wish for, rub them all over the ribs front and backside of the ribs.
Pressure Cook the Rack of Ribs
Now that we have the ribs prepared, it is time for the InstantPot! If there is one kitchen equipment that I will forever encourage others to use, it is the InstantPot. I use this 5/7 days a week for meal prepping and cooking.
I never thought ribs could be made in the Instant Pot, but I was wrong! I will never make ribs a different way again! The Instant Pot will decrease the overall cooking time greatly.
Without using the Instant Pot, ribs can take up to over an hour to make. AND you have to be active in the process. But with using the Instant Pot you can take your hands off!
You will place the Instant Pot trivet/ rack at the bottom of the pot. This is to ensure the ribs do not sit at the bottom of the pot to burn OR sit in the broth.
Place the ribs on the trivet in the pot. You will wrap the ribs to curl/ wrap around the inside of pot. The meaty side of the ribs should be facing out so that they are closer to the wall of the pot. OR you can cut the rack of ribs in pieces. I always opt for the curling around the pot method as this is the easiest for me. Again, make sure the ribs are sitting on top of the trivet/ rack.
I like to cut up an onion, 3 cloves of garlic, and a couple strips of rosemary and thyme to add to the pot. It adds so much flavor to the pot that you will instantly smell once the pressure in the pot starts steaming!
Next, pour the broth in. If this is your first time using an Instant Pot, make sure you add water or some form of liquid to the pot before you turn the pot on. The Instant Pot has to have some form of liquid in it for it to be able to build pressure. So, we will be using broth. I usually opt to use chicken broth because this is what I have in my pantry more than beef broth. You will need to put 1 ½ cups of broth in the pot.
Lastly, you will put the lid on, seal the valve, and turn the pot on. Make sure the setting is on high and change the time to 23 minutes. Now you walk away and relax or prepare the sides while your ribs are cooking!
Again, if this is your first time using an Instant Pot, you may get confused by the pressure building. The pot will not immediately start cooking for 23 minutes- it will take a few minutes to build the pressure. The more amount in the pot, the more time it builds to pressurize. I find that by the time I prepare the sides to be cooked, the pressure has already been built and the timer is going.

Sides
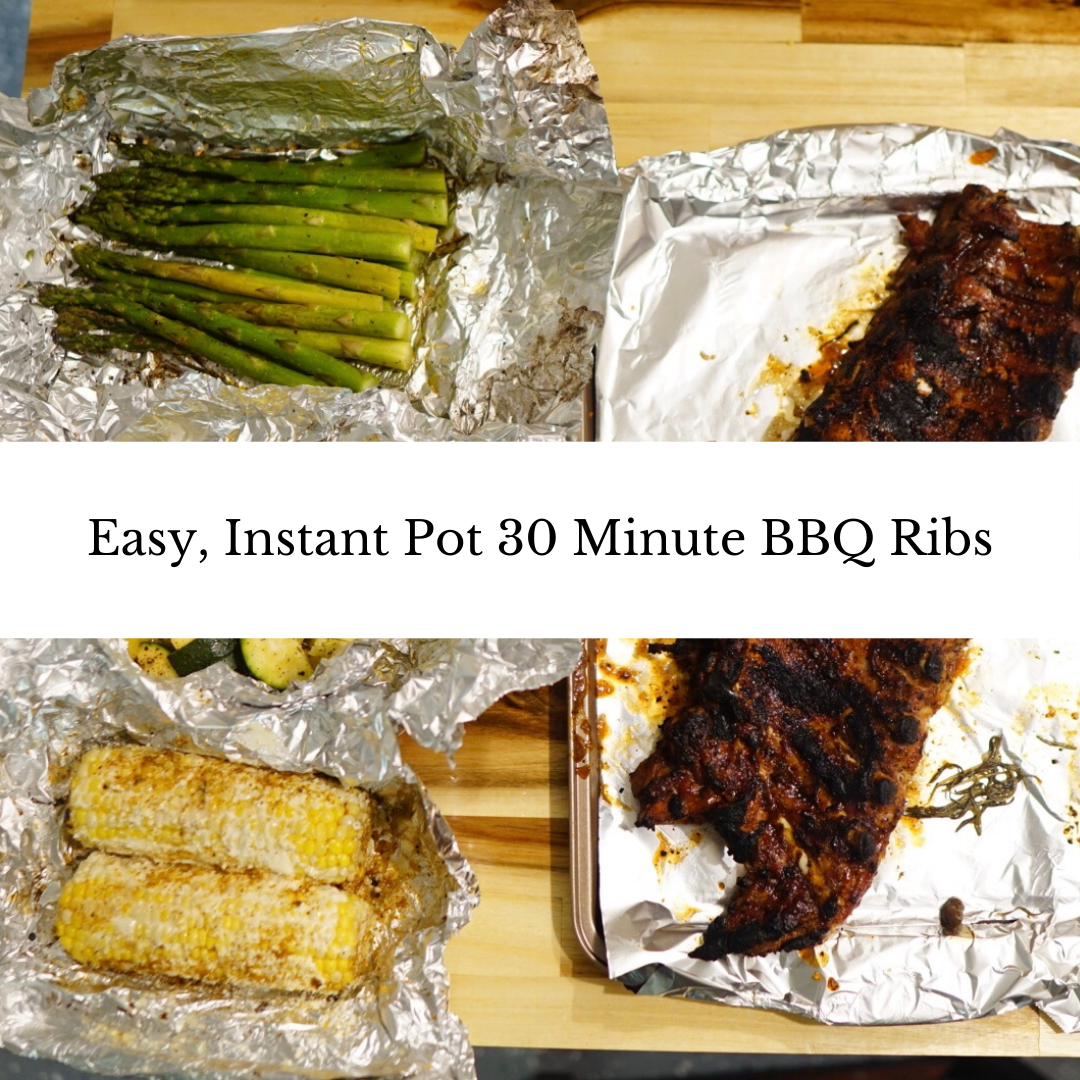
While the ribs are cooking in the Instant Pot, you can prepare the sides. For this meal, we decided to make yellow squash, zucchini, asparagus, and green beans via foil packs to make on the grill.


Releasing the Pressure
Ding! The Instant Pot is finished! I like to natural release for ~2-5 minutes. Natural release is when you allow the pressure to be released on its own without pushing the button to release the pressure. Once the 2-5- minutes of natural release is finished, it is time to release the pressure.
Push the valve to release the sealed pressure. If this is your first time using an Instant Pot, here are a couple warnings for releasing the pressure.
- Only use 1 finger to push the valve. The pressure that will be released is strong and hot steam. You don’t want to get your hand/ fingers burned!
- Prepare yourself for the steam amount and sound. Depending on how long you allow natural release will determine how much steam is released via pushing the valve. The longer the natural release, the less pressure is released- and vice versa. It is also loud! My husband is now used to it since I use it almost everyday, but I used to have to give him a warning before I released the pressure because the sound would scare him!

BBQ Sauce
If you would like, you can check the internal temperature of your ribs to ensure they are at least 190°F. Every time I have made ribs with 23 minutes in the Instant Pot, they have always been 190°-200°F.
Remove the ribs from the Instant Pot and place them on a sheet pan. Take your preferred BBQ sauce and rub it on both sides of the ribs. You can add as much or as little as you would like to meet your preferences! We like a good amount on ours for extra flavor.

Grill/ Oven
Now that your ribs are cooked and slathered with some yummy BBQ sauce, you are ready to put them on the grill or add them to the oven! This is only to create a nice glaze with the BBQ sauce, not to further cook them. With that being said, keep a close eye on the ribs as it will not take long for them to be finished.
Once your grill is preheated to medium heat OR oven preheated for broil, you can add your ribs.
GRILL: If you are using a grill, I like to start with the meaty side down touching the grates first. I leave them on for 2-3 minutes then flip to the other side. The other side will be done quicker since it does not have as much meat on it. After 1-2 minutes, they are ready to come off the grill!
OVEN: If you are opting for the oven option, I like to start with the meaty side facing up. Your oven should be preheated to high broil. Add the ribs to the oven for 2-3 minutes to broil the BBQ sauce.

Finished!
Now you are ready to eat! I usually cut my rack of ribs in 4 sections cutting between the bones. That is usually a set of 3-4 ribs per person. The ribs will cut really easily! And they will fall right off the bone when you bite into them. Add your sides and you have quick, easy, and delicious 30 minute BBQ ribs!

Easy, Instant Pot 30- Minute BBQ Ribs
Ingredients
Equipment
Method
- Pat the ribs dry with paper towels
- Remove the thin membrane from the ribs *see recipe notes
- Season the ribs with salt, pepper, and BBQ seasoning
- Place the trivet in the instant pot
- Place the rack of ribs in the pot on the trivet following the curve of the pot with the meaty part facing out
- Optional: add an onion, 3 cloves of garlic, and rosemary to the pot
- Add 1.5 cups of broth to the pot
- Put the lid on the Instant Pot, seal the valve, and set the pot to cook on high for 23 minutes
- Allow natural release for 2-5 minutes
- Press the valve to release the pressure
- Remove the rack of ribs from the Instant Pot
- Add the BBQ sauce to both sides of the ribs
- Heat the grill to medium heat OR the oven** see recipe notes for oven directions
- Place the ribs on the grill for 2 minutes each side to create a glaze
- Remove rack of ribs from the grill
- Serve immediately and enjoy!
Notes
I hope you enjoy these delicious ribs as much as we have!
Leave a comment below if you try this recipe!